How to use Google Web Designer and Delta Ad Server
This tutorial will help you understand how to implement Delta Ad Server mandatory scripts, files and click tags when designing your ads in Google Web Designer.
Google Web Designer is a visual software that lets you create powerful interactive HTML5 based ads that can run on any web browser and device. Even tho Google Web Designer is generating the necessary code and files for you, there is a few steps that you'll have to perform in order to make your ads compatible with Delta Ad Server.
Create new file
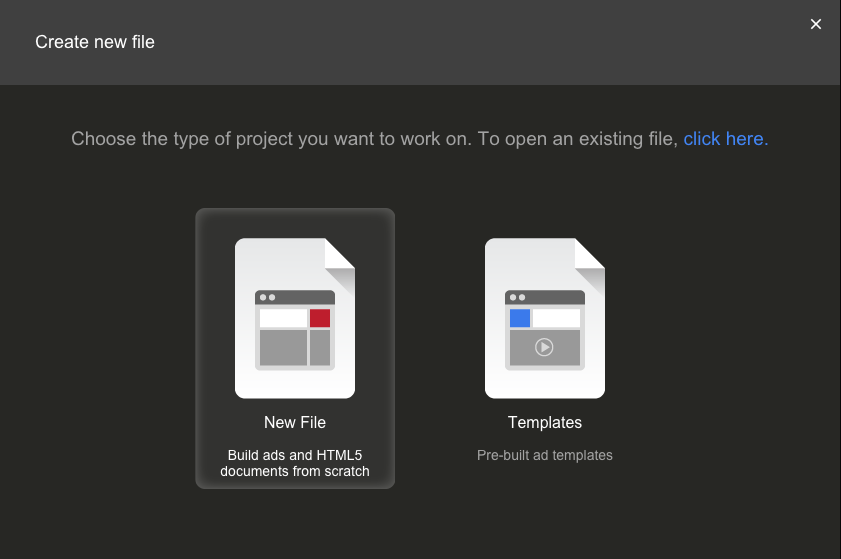
Once you start the program this window below will appear. It contains two options: "New file" and "Templates". Unless you've already made your own template, please go ahead and choose "New File".
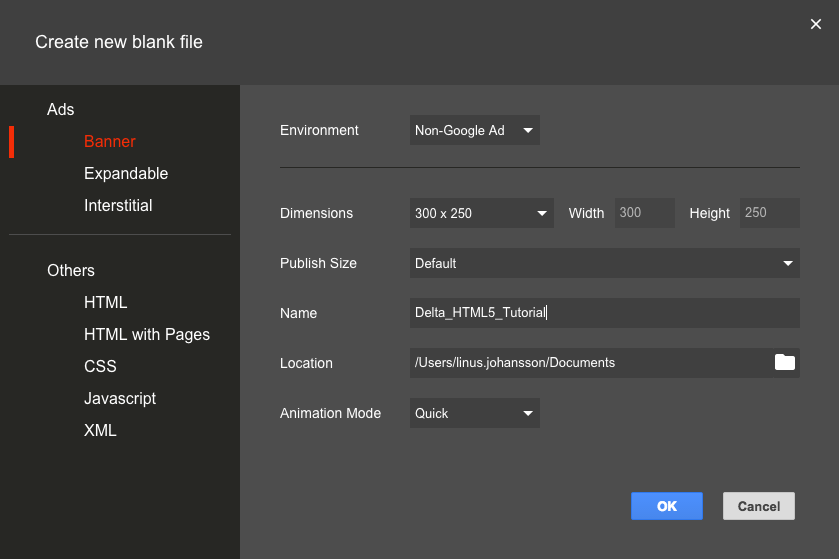
Once this is done you'll get a few options that you'll need to change according to your requirements. The only thing that you need to make sure is that you choose "Non-Google Ad" in the "Environment" drop-down menu.
Creating the clickTag - Required part
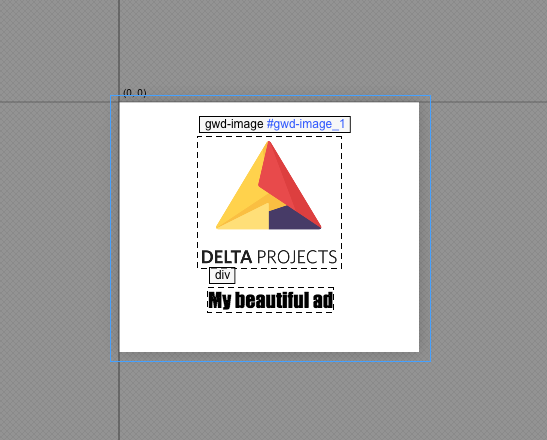
Once you're done creating the graphical elements of your ad it's time to make it clickable.
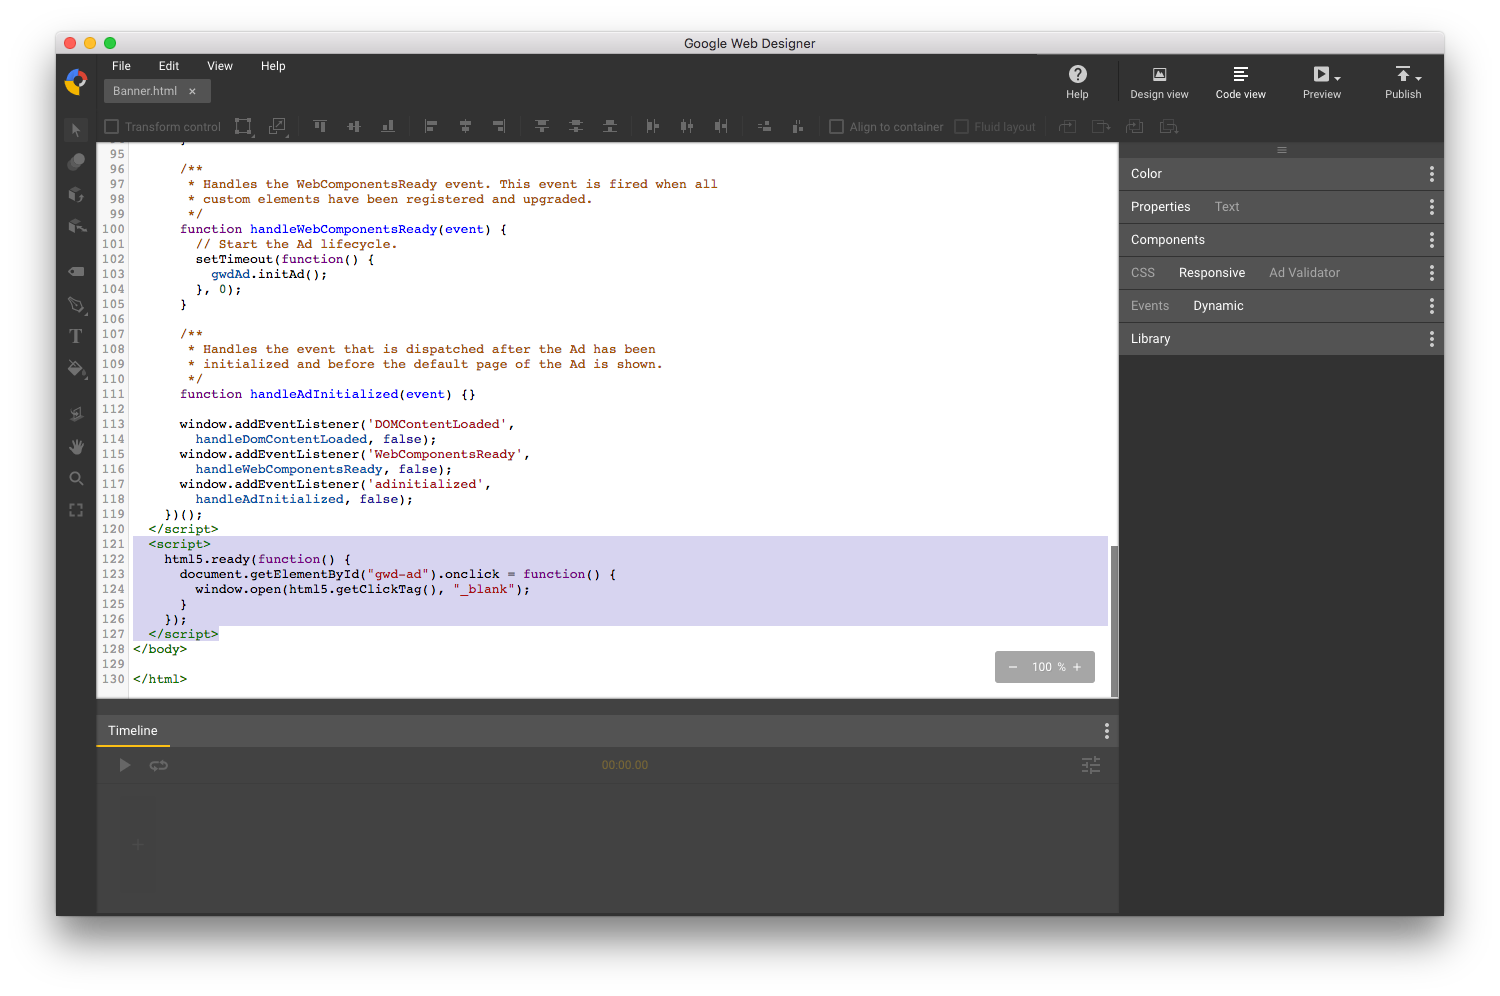
There is many different ways of doing this but the most accurate way is to locate the main <div>-element of your ad and use that. Most commonly it is "gwd-ad". When you've found that, switch over to Code View in the upper right panel then add the following script at the end of <body>
You MUST replace "CHANGE-ME" in the below script with the correct <div>-ID present in your code.
<script type="text/javascript">
    html5.ready(function() {
          document.getElementById("CHANGE-ME").onclick = function() {
            window.open(html5.getClickTag(), "_blank");
          }
    });
</script>
Creating the clickTag - Optional part
If clickTag can't be solve as per above, you'll need to create a <div>-element over the whole ad by using the "Tag Tool"  . This tool can be found in the menu bar at the far left in the program.
When this is done you'll have to give your <div> an ID. This can be done in the "Properties" section, located to the far right of the program. The ID name is optional, but in this tutorial and below screenshot we'll use "click-me".

Then please see the previous required part of the clickTag for inserting the script at the end of <body>
Publish your ad
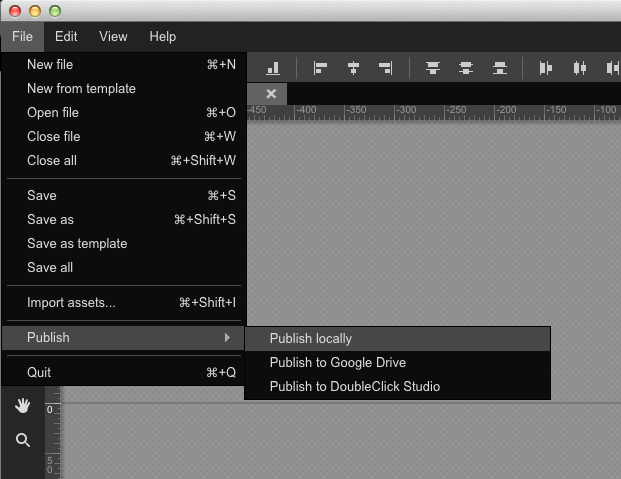
Now that we have created the ad and made it clickable it's time to publish the ad. You do this by going to "File > Publish > Publish locally" in the top left menu.
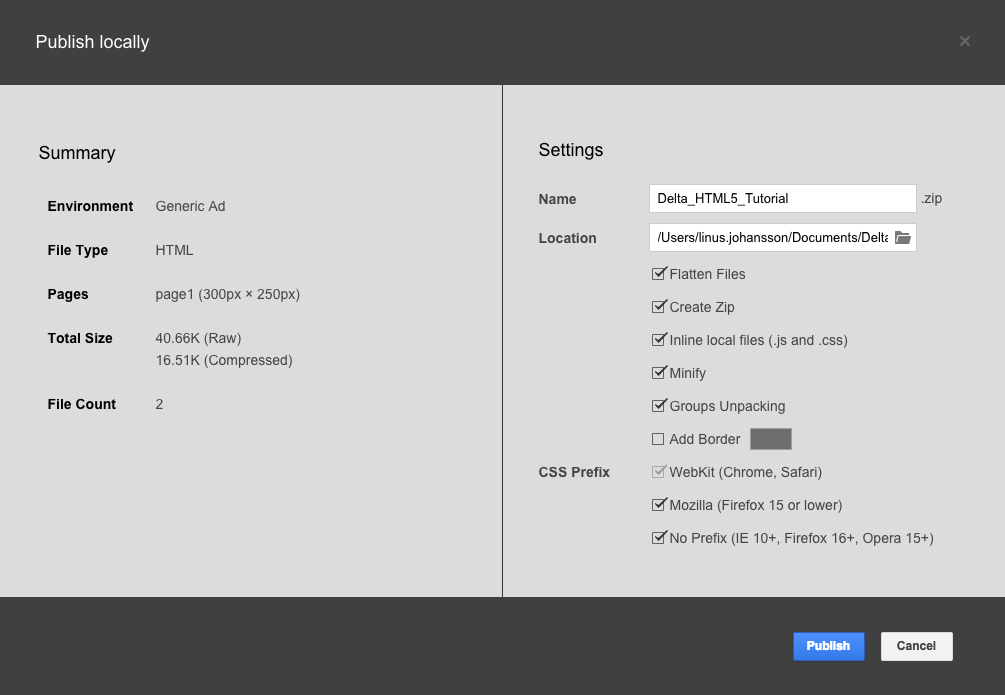
A new window will appear where you can review your settings, as well as choosing the path to where you want to place the .zip file after you've published. Click Publish.
Adding preamble script
Now that you have published your ad it's time to add the preamble script. Unfortunately Google Web Designer is changing the structure of the script upon publishing. Therefore you will have to use another text editing program of your choice.
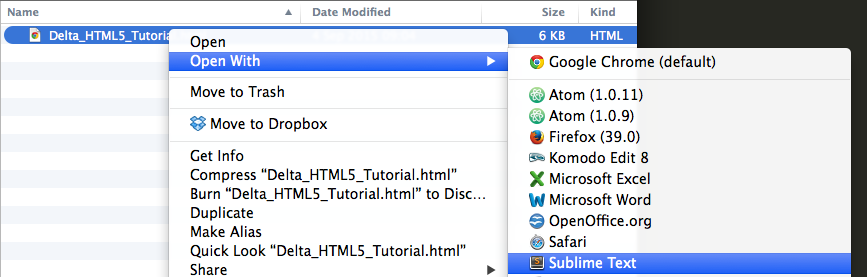
Go to the directory where you saved your HTML5 ad and decompress the .zip file.
A few files will appear, make sure to place them all in an own directory.
Navigate to the folder where you just placed all your files and open the index.html file in your texteditor.
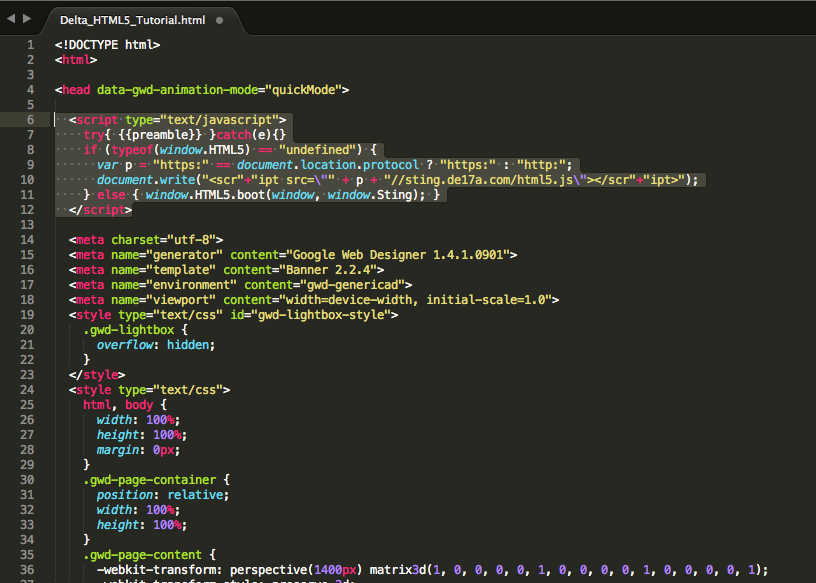
Once the index.html file is opened you'll see a lot of HTML code. The one thing you'll have to find is the <head> section. Please place our preamble script right after the opening <head>-tag.
Preamble script:
<script type="text/javascript">
  try{ $$preamble$$ }catch(e){}
  if (typeof(window.HTML5) == 'undefined') {
    var p = 'https:' == document.location.protocol ? 'https:' : 'http:';
    document.write('<scr'+'ipt src="' + p + '//sting.de17a.com/html5.js"></scr'+'ipt>');
  } else { window.HTML5.boot(window, window.Sting); }
</script>
When you're done doing this, you'll just have to save this file and close it.
Creating a manifest.json file
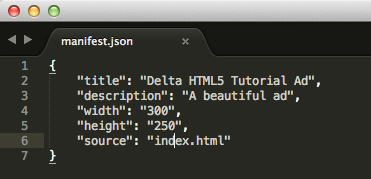
A manifest.json file is simply a file that communicates the necessary information to the Ad Server.
In this tutorial we'll only use the required steps, which is: width, height and a source to the .html file.
{
  "width": "300",
  "height": "250",
  "source": "CHANGE.ME"
}
Please open your text editing program and create a new file called manifest.json inside your ad directory. When this is done, please put this information in the file, change it to your requirements and Save it.
Final steps
Congratulations! You've just made your first HTML5 ad that is compatible with Delta Projects Ad Server! Please compress (zip) your directory and upload it!
If you have any other questions, please do not hesitate to contact technical@deltaprojects.com.
Last modified: Mon Sep 23 2024 11:48:54 GMT+0200 (Central European Summer Time)